


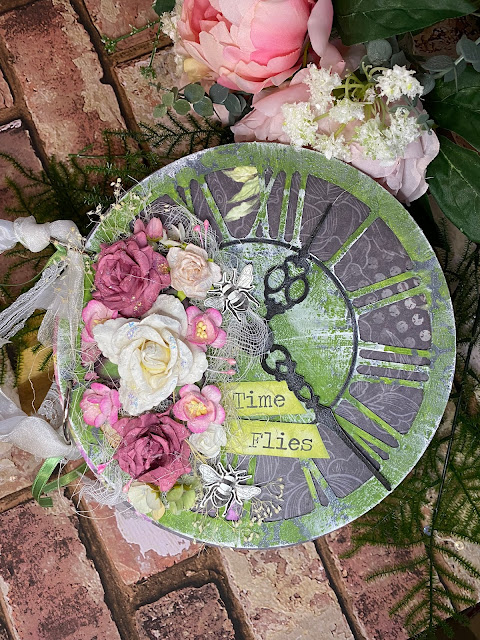
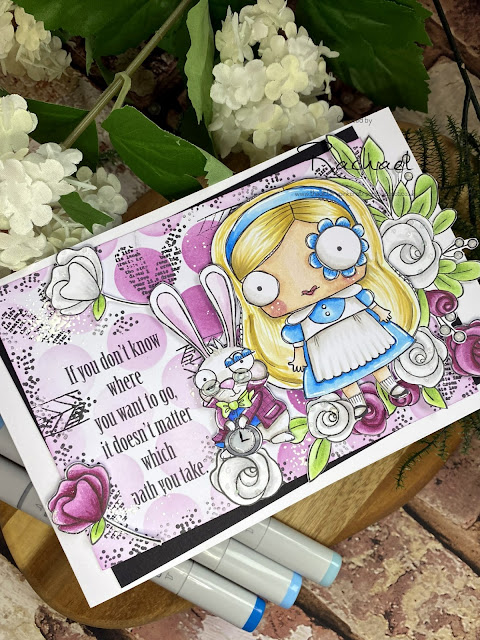
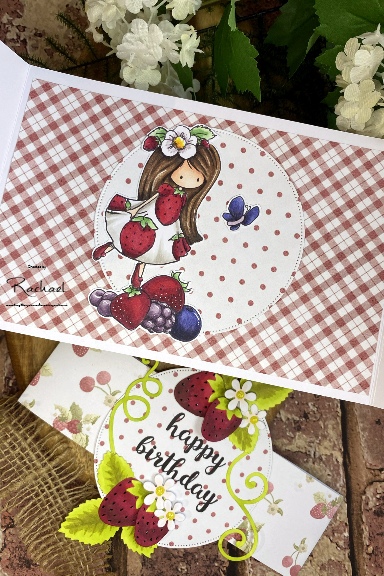
Hello crafting friends
Hope you are all OK. I made a couple of cards this weekend, so I thought I'd share one of them...

I made this using MFT up and away stamp set, A Tracey Hey paper pad, distress oxides (scattered straw and abandoned coral). Coloured with Copics and embellished with enamel dots.
After colouring the stamps, I fussy cut them out along with a patterned paper circle die cut, and white circle. I coloured this by ink blending the scattered straw, at the same time as using a stencil for a bit of interest in the background. The sentiment from the stamp set was heat embossed on a black strip of paper, and I added everything to the card
This teddy is so super cute!
I'd like to enter this into:
- We Love Stamping - Anything goes
- Get creative - Anything goes
- Pammies pinkie inkies - Anything goes
- A perfect time to craft - anything goes
- Classic design challenge - anything goes
Thanks so much for stopping by - if you'd like to leave a little love in the comment box I do read them all. Alternatively follow me on on of my other social media pages (follow the links on the front page).
See you soon
Rachael


.jpg)
